
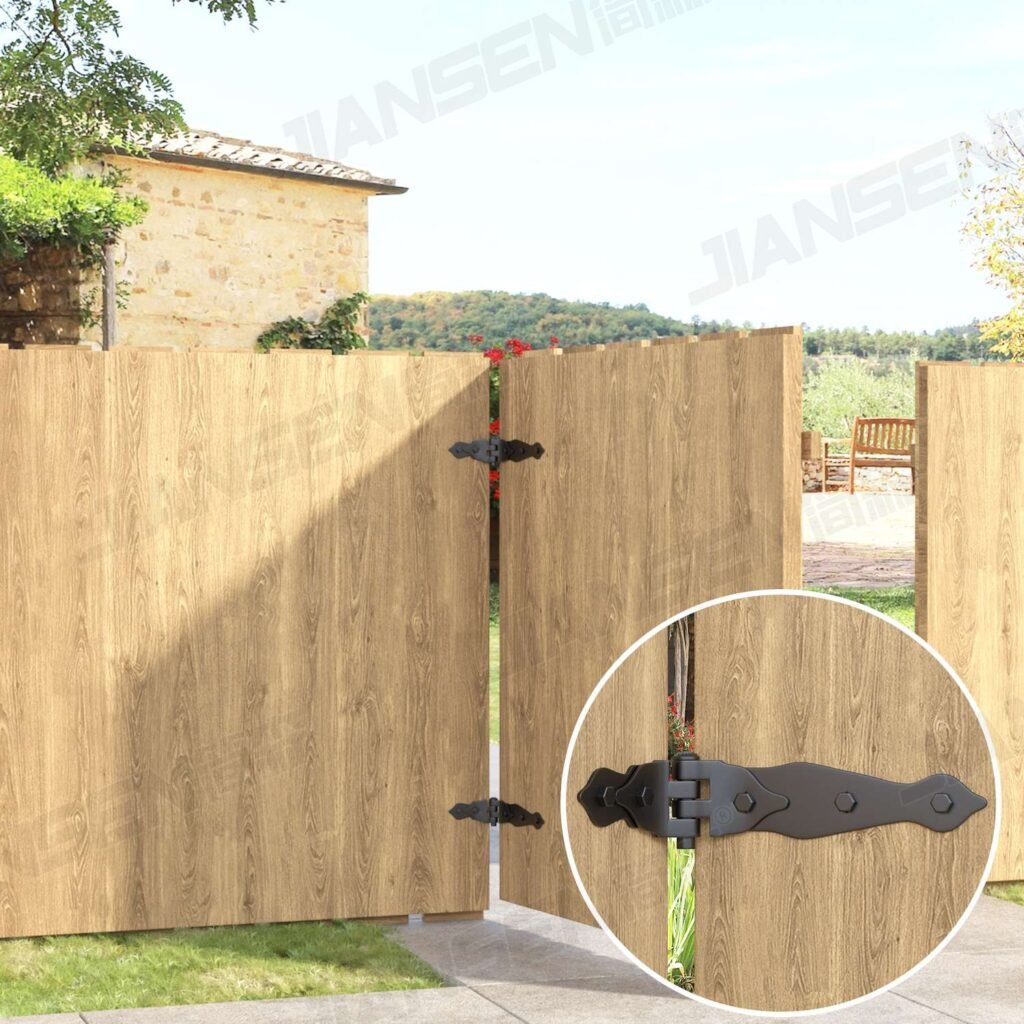
An OEM fence hinges inspection record should identify the lot and approved specification revision, define the buyer-approved sampling plan, and record four elements for every check: specification source, method or tool, buyer-defined acceptance, and objective evidence. Use the same controlled record from incoming inspection through final release. Do not release a shipment on a supplier catalogue value alone: approved drawings, the purchase-order BOM, signed samples, packaging artwork, and buyer-approved test requirements take precedence.
This checklist is written for importers, distributors, private-label brands, and quality teams that need a repeatable acceptance record for fence hinges. It focuses on incoming and final inspection rather than product selection or installation. For type, material, finish, and RFQ decisions, use the fence hinge OEM sourcing guide. For strap-hinge sizing and installation, use the strap hinge specification guide.
1. Establish the controlled inspection record
Create one inspection report number for each lot or clearly defined sub-lot. Record buyer name, supplier, purchase order, line item, ordered SKU, supplier lot, manufacturing date code if specified, quantity received, quantity offered for final inspection, inspection stage, location, inspector, date, and report status. If mixed revisions, finishes, or carton markings are found, stop and segregate them rather than averaging results across unlike goods.
Lock the specification hierarchy before measuring
List the approved drawing number and revision, BOM revision, purchase-order revision, signed sample identifier, finish specification, packaging specification, label artwork revision, and any approved deviation. State which document controls if two sources conflict. A marketing page may help identify an example SKU, but it is not a controlled acceptance document. Jiansen buyers should have both parties acknowledge the hierarchy before production inspection starts.
| Record field | Specification source | Method / tool | Buyer-defined acceptance | Evidence |
|---|---|---|---|---|
| Lot identity and traceability | PO, supplier traveler, carton label requirement | Document review; compare unit, inner pack, carton, and pallet codes | All identifiers match the PO and permit trace-back to one defined lot | Report header plus overview and label photographs |
| Drawing and BOM revision | Buyer-approved drawing and BOM register | Revision comparison against production packet | Only the buyer-approved revision is present; deviations are written and authorized | Revision list, signed deviation, document screenshots |
| Reference sample status | Signed sample approval record | Verify seal, ID, date, and condition | Sample is identifiable, current, undamaged, and approved for comparison | Photograph of sample ID and seal |
| Quantity presented | PO and packing list | Count cartons; verify pieces per pack and selected carton totals | Presented quantity and packing configuration meet buyer-approved order documents | Count sheet and carton photos |
2. Define the sampling frame without inventing an acceptance level
Write the lot definition before selecting units: same SKU, drawing revision, material batch or declared production lot, finish batch, and packaging revision. Number cartons or pallets, then select samples across the beginning, middle, and end of production and across different shipping units. Keep the selection traceable; “random samples checked” is not enough.
ISO 2859-1:2026 can provide an attribute-sampling framework. It does not remove the need for buyer and seller to agree the inspection level, acceptance quality limit, switching rules, lot size, sample size, defect classes, and accept/reject numbers. Put those agreed values in the inspection instruction or PO; this article deliberately provides no default numerical acceptance level.
| Sampling check | Specification source | Method / tool | Buyer-defined acceptance | Evidence |
|---|---|---|---|---|
| Lot homogeneity | PO, production declaration, traceability plan | Compare revision, batch, finish, and date codes | Each inspection lot meets the buyer’s written homogeneity definition | Lot map and code photographs |
| Sample selection | Buyer-approved sampling instruction, optionally based on ISO 2859-1:2026 | Random-number list or documented systematic selection across cartons | Selected quantity and distribution equal the approved plan | Sample map with carton and piece IDs |
| Defect classification | Buyer-approved defect catalogue | Classify each observation against named defect examples | Critical, major, and minor results meet the agreed accept/reject rule | Defect tally and annotated photographs |
3. Perform incoming inspection before assembly or packing
Incoming control verifies that components entering production match the order baseline. It should cover hinge leaves, pins, bushings or washers where specified, fasteners, packaging components, and coating inputs or certificates only when required by the PO. Quarantine unidentified or mixed material. Never “correct” a receiving discrepancy by changing the drawing or report after the fact.
Record appearance and component identity
| Incoming check | Specification source | Method / tool | Buyer-defined acceptance | Evidence |
|---|---|---|---|---|
| Component identity | Approved BOM, drawing, signed sample | Visual comparison and part-code verification | Shape, handedness if applicable, component type, and declared material match the controlled source | Receiving log and sample photographs |
| Raw-part appearance | Drawing and buyer defect catalogue | Illuminated visual inspection at the agreed viewing distance | No buyer-defined rejectable cracks, sharp burrs, deformation, contamination, or incomplete forming | Defect tally with scale reference in photographs |
| Incoming dimensions | Approved drawing with tolerances | Calibrated caliper, micrometer, height gauge, or buyer-approved fixture | Every recorded characteristic is within its drawing tolerance | Serialised measurement sheet and gauge IDs |
| Fastener receipt | Approved BOM and fastener drawing | Count, thread gauge, caliper, and visual comparison | Type, quantity, dimensions, drive, point, material/finish designation, and markings meet the BOM | Count sheet, gauge result, labelled sample photo |
4. Measure critical dimensions against the approved drawing
Prepare a characteristic list rather than measuring whichever dimensions are easiest. Typical record fields may include overall leaf length and width, material thickness, barrel length and diameter, pin diameter, offsets, bends, and hole characteristics—but only when the approved drawing specifies them. The website publishes no universal hole spacing or hole diameter, so inspectors must not infer those values from images or another SKU.
For each instrument, record asset ID, resolution, calibration status, and measurement unit. State the datum and measurement location. Keep individual readings, not only “pass.” When a result is near a tolerance boundary, follow the buyer’s measurement uncertainty and recheck rule rather than rounding it into compliance.
| Dimensional check | Specification source | Method / tool | Buyer-defined acceptance | Evidence |
|---|---|---|---|---|
| Overall envelope | Approved drawing, stated revision | Caliper or fixture from defined datums | Each characteristic falls within the stated tolerance | Individual readings, unit IDs, gauge ID |
| Material thickness | Approved drawing or BOM | Calibrated micrometer at buyer-defined locations | All readings meet the specified range and location rule | Reading table and location photo |
| Hole position and diameter | Approved drawing only | Optical comparator, CMM, pin gauges, or approved checking fixture | Position and size meet drawing tolerances; no value is copied from marketing content | Inspection output or fixture result with part ID |
| Hinge alignment and movement clearance | Drawing and approved functional specification | Fixture, feeler gauge, dial indicator, or defined manual check | Buyer-defined alignment, clearance, and movement criteria are met | Readings or video linked to sample IDs |
5. Count every hinge, fastener, and accessory
Count the contents of sampled sales units and compare them with the approved BOM. Do not treat “hardware included” as measurable acceptance language. Record each component name, required quantity, observed quantity, and defect. Confirm that fasteners belong to the inspected hinge configuration and that mixed loose parts cannot migrate between packs.
Marketing specifications can be used only as pre-inspection examples requiring confirmation. The JL2223 product page lists two strap hinges and ten screws, while the JL2222 product page lists one latch, eight self-tapping screws, and one pull cable. The JL2234 set page lists four gate hinges and 24 metal screws within a larger hardware set. These are SKU examples from marketing specification tables, not controlled inspection limits; the approved BOM and sample govern purchasing acceptance.
6. Inspect surface treatment without converting a method into lifetime
First verify the ordered finish system and colour against the approved finish specification and signed sample. Inspect coverage, colour consistency, gloss if specified, runs, pinholes, exposed substrate, blistering, contamination, scratches, chips, edge coverage, and contact marks under the buyer-defined viewing conditions. Record the defect location and size with a scale.
If the buyer specifies a corrosion test, ISO 9227:2022 describes salt-spray test methods. The PO or test plan must separately define specimen preparation, exposure duration, evaluation, and acceptance. A salt-spray result is not a field-life prediction. If the purchase specification explicitly calls for hot-dip galvanized fabricated articles, ISO 1461:2022 addresses general coating properties and test methods; do not apply it automatically to zinc plating or another finish.
| Finish check | Specification source | Method / tool | Buyer-defined acceptance | Evidence |
|---|---|---|---|---|
| Finish identity and colour | PO, finish specification, signed colour sample | Controlled-light visual comparison; colour meter if specified | Finish system and colour match approved references | Sample ID, readings if required, overview photo |
| Coating appearance | Buyer defect catalogue | Defined lighting, viewing distance, magnification, and defect scale | Observed defects remain within buyer-defined location, size, and count limits | Defect map and close-up photographs |
| Coating thickness or adhesion | Buyer-approved test plan | Specified calibrated gauge or named test method | Recorded values/results meet the contract criterion | Raw results, equipment ID, specimen IDs |
| Corrosion test, when ordered | PO/test plan and ISO 9227:2022 method reference | Approved laboratory procedure | Duration and evaluation criteria are explicitly agreed by buyer and seller | Test report tied to lot and specimens |
7. Conduct final functional inspection on a defined fixture
Functional inspection verifies the delivered mechanism, not an installation tutorial. Use a buyer-approved fixture or test assembly that reproduces the specified mounting interfaces. Record fixture revision, fastener condition, test orientation, sample ID, number of operations if specified, and actual observations. Check free movement, binding, pin retention, abnormal contact, noise where relevant, and self-closing or adjustment behavior only when those functions appear in the approved specification.
| Functional check | Specification source | Method / tool | Buyer-defined acceptance | Evidence |
|---|---|---|---|---|
| Movement through specified range | Approved functional specification and drawing | Buyer-approved fixture; angle gauge if required | Required range is achieved without prohibited binding or interference | Sample-level result and short video |
| Pin and assembled-part retention | Drawing and test instruction | Visual check and specified pull/push method if required | No displacement or separation beyond the written criterion | Before/after photos and measured result |
| Specified closing/adjustment function | Approved sample and functional test instruction | Defined fixture, settings, and operation sequence | Observed response meets the buyer’s written criterion | Settings sheet and video by sample ID |
8. Verify final packaging and shipping marks
Inspect packaging after the product checks but before release. Confirm unit protection, separators, bag seals, desiccant only if specified, accessory containment, quantity per pack, carton strength designation if specified, gross/net weight markings, carton dimensions, barcode readability, country or customer markings, and pallet pattern. Use approved artwork—not a previous order—as the reference.
The JL2234 marketing specification names poly bag plus carton as an example. That description does not establish the packaging for other fence gate hardware or for the wood fence gate hardware range. The PO packaging specification remains controlling.
| Packaging check | Specification source | Method / tool | Buyer-defined acceptance | Evidence |
|---|---|---|---|---|
| Unit pack and component containment | Packaging specification and BOM | Open sampled packs; count and inspect protection | Correct quantity, separation, protection, and closure with no loose or mixed parts | Open-pack photographs and count record |
| Labels, barcode, and artwork | Approved artwork revision and data file | Visual comparison and barcode verifier/scanner as specified | Text, code, placement, readability, and revision meet approved artwork | Label photos and scan output |
| Carton and pallet configuration | Packing instruction | Scale, tape, count, and visual check | Quantities, dimensions, weights, sealing, and pattern meet buyer-defined requirements | Packing list, readings, and all-side photos |
9. Build a photo and evidence package that can be audited
Name evidence by report, lot, carton, sample, and inspection item. At minimum, retain lot overview, labels, sampling distribution, measurement setup, gauge display, each nonconformity with a scale, open packaging, carton markings, and final seal. Keep original files and a read-only index; do not rely on compressed chat images. Link each photograph or video to the corresponding result row.
Retain the approved drawing/BOM list, sampling record, raw measurements, equipment status, certificates specifically required by the PO, defect tally, deviation approvals, rework verification, NCR/CAPA documents, signed release, and retained-sample location. Set retention time and access rights in the buyer’s quality agreement.
10. Control retained samples
Seal retained samples from accepted lots and, where useful, representative defect samples. Record sample ID, lot, drawing revision, inspection report, quantity, condition, storage location, seal number, retention period, owner, and disposal authorization. A retained sample is evidence, not permission to ignore a newer drawing. If the reference sample and current controlled document differ, escalate the conflict before release.
11. Issue an NCR and manage CAPA without erasing the original result
When a requirement fails, identify affected item, sample, defect, source requirement, actual result, quantity checked, and suspected scope. Physically and digitally quarantine the lot. An NCR should state immediate containment and disposition authority; it should not silently convert a reject into an acceptance. Allowed dispositions must be buyer-approved: return, sort, rework, scrap, or use-as-is under a signed concession.
For systemic or repeated problems, CAPA should document root-cause method, correction, corrective action, owner, due date, effectiveness verification, and closure approval. After sorting or rework, use the buyer-approved reinspection rule and preserve both original and reinspection results. Attach new evidence; never overwrite the failed record.
| Nonconformity control | Specification source | Method / tool | Buyer-defined acceptance | Evidence |
|---|---|---|---|---|
| NCR completeness | Buyer NCR procedure | Record review and physical quarantine check | Requirement, actual result, scope, containment, owner, and status are complete | NCR, quarantine tag, affected-quantity log |
| Disposition approval | Quality agreement and buyer authority matrix | Signature/workflow verification | Disposition is approved by authorised personnel before action or shipment | Signed concession or disposition record |
| CAPA effectiveness | Buyer CAPA procedure | Follow-up audit, data review, or agreed verification | Corrective action meets the pre-defined effectiveness criterion | CAPA report and effectiveness evidence |
12. Complete the shipment release record
The release block should show PO and lot, quantities accepted/rejected/held, inspection report, open NCRs, concession numbers, document revisions, evidence-package location, retained-sample ID, inspector approval, independent reviewer where required, and date/time. “Passed inspection” without this traceability is not a release record. If any mandatory result, approval, or evidence is missing, status stays on hold.
For buyers comparing example configurations before creating controlled documents, review the JL2201 hinge page and JL2202 decorative strap hinge page. Then send the final drawing, BOM, defect catalogue, sampling instruction, packaging artwork, and release authority through the Jiansen contact channel. Marketing values should be transferred into controlled purchase documents only after buyer approval.
Frequently asked questions
What documents control an OEM fence hinge inspection?
The buyer-approved drawing, purchase-order BOM, signed sample, finish specification, packaging artwork, test plan, and authorised deviations should control. The inspection report must list their revision or identifier. A supplier product page can help identify an example SKU, but it should not replace controlled acceptance documents.
Can I use one fixed acceptance quality limit for every fence hinge order?
No. Buyer and seller should agree the lot definition, inspection level, acceptance quality limit, defect classes, sample size, and accept/reject numbers for the specific order. ISO 2859-1:2026 may provide the sampling framework, but this checklist does not prescribe a universal numerical value.
How should inspectors check hole spacing when the website gives no value?
Use the approved drawing or a buyer-approved checking fixture. Record the datum, method, tool ID, actual readings, tolerance, and evidence. Do not estimate hole spacing or diameter from product photographs, another SKU, or an installation article.
Does a salt-spray test prove outdoor service life?
No. ISO 9227:2022 describes salt-spray test methods; it does not by itself establish outdoor lifetime. The purchase specification must define the test duration and evaluation criteria, and results should be reported only against those agreed requirements.
What evidence should accompany a failed inspection?
Attach the source requirement, actual result, sample and lot IDs, defect quantity and classification, photographs with scale, measurement files, equipment ID, quarantine record, NCR, approved disposition, and any reinspection or CAPA evidence. Preserve the original failed result.
When can an inspected lot of fence hinges be released?
Release only after all required checks meet buyer-defined acceptance, the evidence package is complete, retained samples are logged when required, and every NCR has an authorised disposition. The release record should identify the lot, accepted quantity, document revisions, report, approvals, and any concession.
Use the checklist as a controlled record
A useful inspection checklist is not a generic quality statement. It is a lot-specific chain from requirement to method, acceptance, evidence, disposition, and release. Keep those four columns for every incoming, in-process, final, functional, finish, and packaging check. That structure gives the buyer a reviewable basis for accepting, holding, sorting, reworking, or rejecting an OEM shipment of fence hinges.
